

Printing With Household Objects
Work alongside artist and tutor, Christine Chester, to make simple print blocks which use ‘stuff’ that you have lying about the house or garden. Washers, buttons, paper clips, elastic bands, can all be used to make interesting prints on fabric.
During this masterclass, you will receive step-by-step guidance and practical tips on how to make your own print plate. Christine will guide you through ways of printing and layering to create fabric which could be used alongside commercial prints or plains to make patchwork blocks, or textures and patterns for contemporary quilts.
Using low tech equipment learn how to make a quick print plate which you can use on its own, or combine with other plates/blocks, to create textures and patterns.
What you will learn:
Using all sorts of ’stuff’ that you have around the house to make simple but effective blocks to print with, you will learn:
- About the equipment you need for printing and how you can adapt things you have already as alternatives
- How to make a simple print block using readily available materials
- How to colour up the print block and what media and fabrics to use
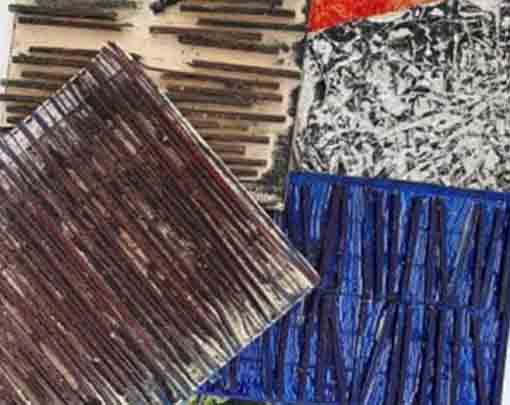
- Simple layering to make complex prints
- Your fabrics can then be used as alternatives to commercially printed fabric, or alongside them, in all sorts of patchwork processes. Or you can use your prints as a background for whole cloth quilting by hand or machine. Using your own printed fabrics makes your quilts unique and can become addictive!
Materials You Will Need
Please note these materials are not included with purchase of this class, the following materials will need to be bought separately.
Please note some of these items are optional and suggestions have been given so you hopefully won’t have to order anything to take part.
- 50cm of white or pale fabric – as smooth as possible. Cotton/linen should be thoroughly washed at 90 degrees.
- Acrylic paint/fabric paint/screen-printing paint. Any colours you might have – you will not need much, so small tubes are ok. If you want to use a couple of colour, you might want a damp cloth handy to rest your sponge on paint side down (and you will need a second sponge) so that it does not dry and go crusty!
- Double-sided tape.
- Small rectangle of mountboard/wood/acrylic.
- Fine textured sponge/sponge roller (not a sea sponge).
- Smooth surface to roll/sponge paint on to – this could be a scrap piece of melamine/ceramic tile/plastic covered board/safe piece of glass – about A5 minimum.
- Apron and disposable gloves – thick rubber gloves are too bulky.
- Masking tape.
- Print surface – this could be a piece of table covering or the back of a cutting mat for example.
- Scrap paper for trying the plates out.
Preparation
Have all materials in reach and ready for use.
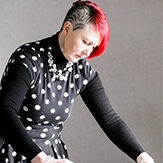
Christine Chester is a textile artist working in mixed media, creating work to exhibit as well as developing fabrics and quilts as part of her teaching. Having recently completed a Masters Degree at University of Brighton to further her own practice, she now works as an artist and teacher, a dream she has always hoped to fulfil.
In recent years, Christine has had work shown in an individual gallery space at Festival of Quilts (2015) and alongside other artists in the unFOLD galleries at The Knitting and Stitching Show (2016) and Festival of Quilts (2018).
She is a member of Quilt Art, the international quilt group which constantly pushes at the boundaries of quilting and a founding member of unFOLD, the textile art group.
Find out more about Christine Chester:
Website: christinechester.com
Pinterest: CC Textile Art
LinkedIn: Christine Chester
Instagram: @cctextileart
Only logged in customers who have purchased this product may leave a review, please Login here.

Reviews
There are no reviews yet.